As you may have noticed in some of my previous posts (here and here) I have a habit of collecting pieces of vintage and antique lace when I spot it in charity shops, or at car boot sales. A lot of the lace I use in sewing projects, depending on how old and fragile the lace is, and how intricate. When buying lace from cheap sources (rather than nicely washed, pressed and expensive from textile or antique dealers!) you often can’t tell how good the piece will look until you’ve taken it home and submitted it to a good wash.
Some old pieces still don’t look their best even after washing: often they are an odd grey or yellowish colour due to being washed with something unsuitable in the past, or they have some pale (but obvious on white lace) stains on them. I have some lovely pieces that aren’t are no longer their original white or cream, and have given them a new lease of life!
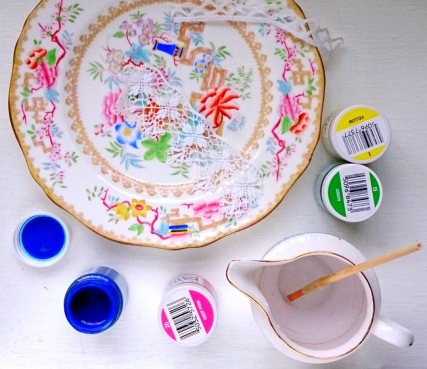
In this project I used:
- Vintage and antique pieces of lace
- Dylon Fabric Paints
- A ceramic plate or suitable work surface (to work on to avoid making too much of a mess!)
- A paintbrush
- Water
As I wanted to colour the whole piece of lace and wanted a soft finish, I first got the piece of lace thoroughly wet, and only lightly squeezed out the excess water before laying it on the plate. The next step is to wet the paintbrush in the water, and then use it to pick up a small amount of paint, brushing it into the fabric. For particularly pale colours the paint needs to be diluted with water before brushing on to the lace.
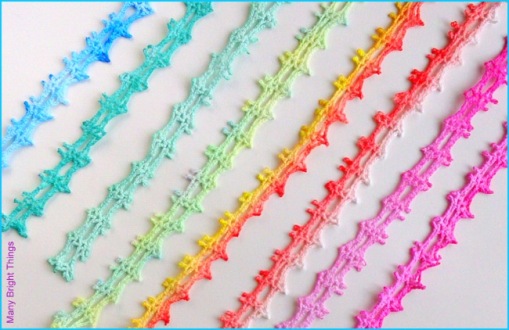
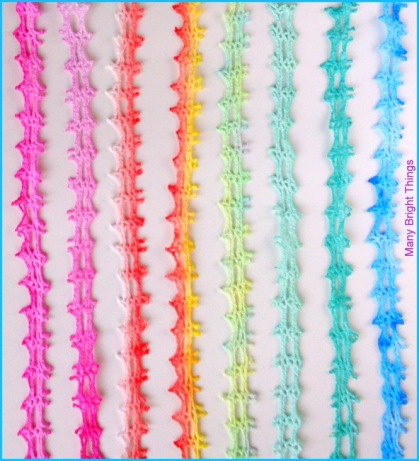
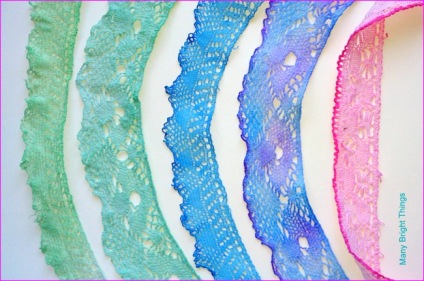
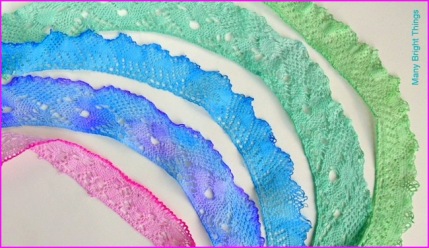
I used the strips of handmade crocheted lace above to test out colours and effects. When going for an ombre look, having the lace wet before applying the paint makes it possible to blend or fade-out colours.
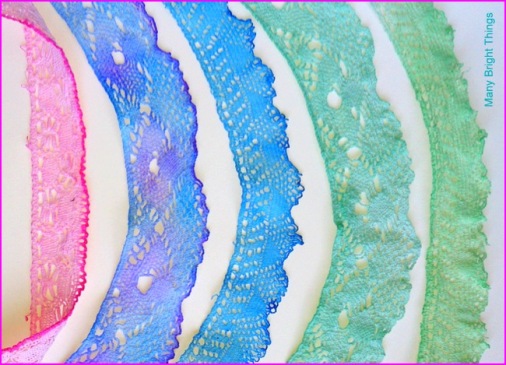
To dye a whole piece of lace in one colour, a small amount of paint needs to be diluted in water, and then the lace is placed into this diluted paint and squeezed so that it absorbs the dye. The lace can be left a uniform colour (like the green and mint green pieces on the left in the above picture), or detail can be added (such as with the three pieces of lace on the right in the above picture, where a darker colour has been painted along one edge).
To make the dye permanent follow the manufacturers instructions (in this case the lace had to be left to dry, and then ironed on a high heat setting).
The once sad old vintage lace is now has a new lease of life, and is all ready to be upcycled and used in a sewing project!
Comments on: "Dyeing Vintage Lace DIY" (4)
[…] have started to use some of the vintage lace that I dyed a couple of weeks ago (‘Dyeing Vintage Lace’ post). Here is a simple and quick upcycling project, that only requires a small piece of lace, so […]
LikeLike
[…] hand-dying/painting some vintage lace a couple of weeks ago (see post here) I was so pleased with the result that I have experimented with a few more pieces. The Dylon Fabric […]
LikeLike
[…] two reels of lace trim (blue and pink) are lengths of handmade vintage trim that I dyed myself; see this post for details of how to make your […]
LikeLike
[…] …I dyed the lengths of vintage handmade lace myself (see previous post here). […]
LikeLike